Tutorial: Integrating Gauge with Azure
Azure Pipelines build, test, and deploy with CI/CD that works with any language, platform and cloud. Connect to Github or any other Git provider and deploy continuously.
Setup
Login to Azure DevOps with GitHub/Microsoft account.
Create a new project and a build pipeline

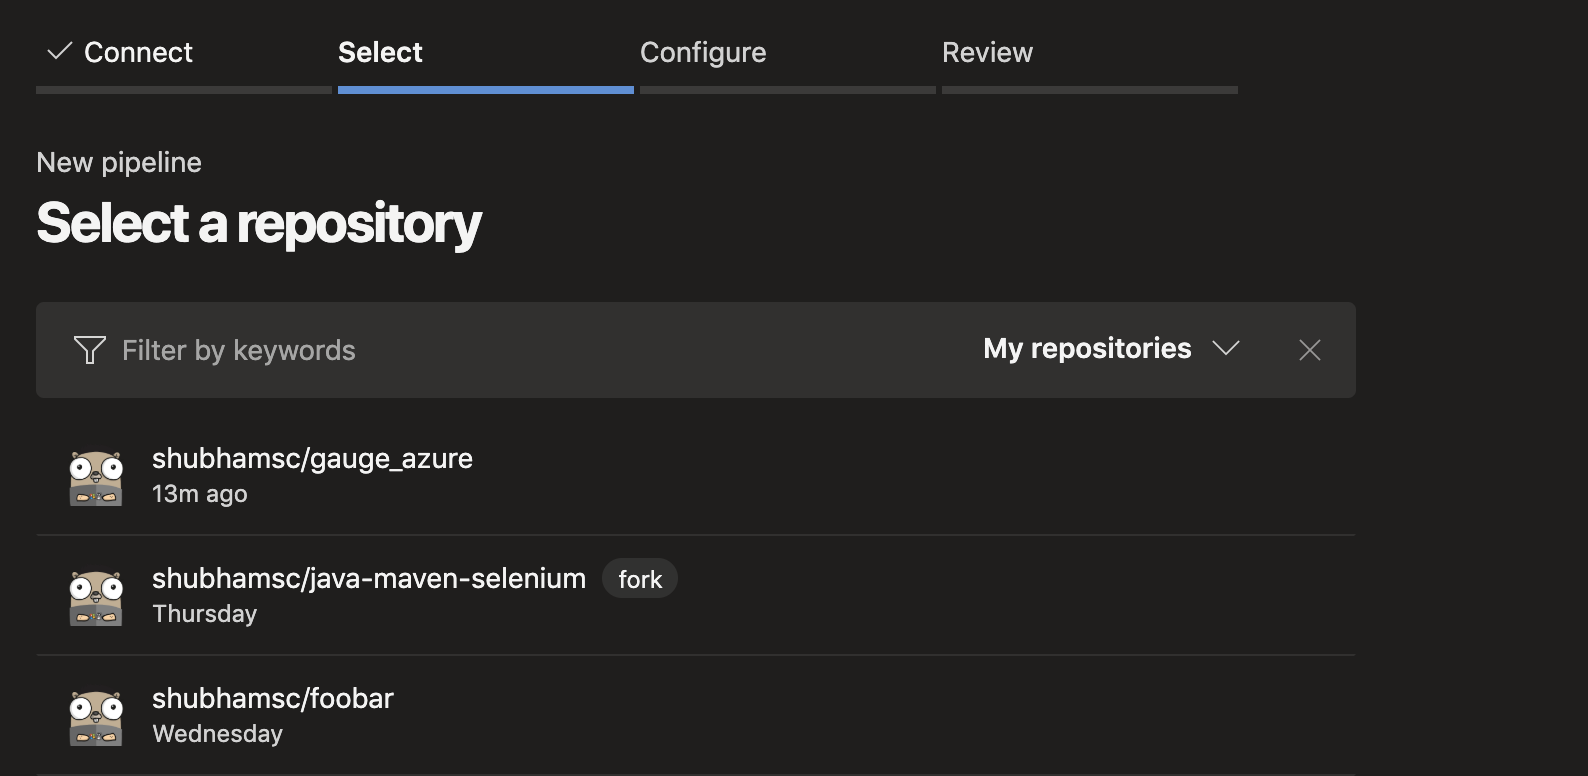
Select a repository which you want to build in azure pipeline
Creating tasks
Create a azure-pipelines.yml file in your project root.
Add these lines in azure-pipelines.yml according to the platform on which you want to build.
macOS
trigger:
- master

pool:
    vmImage: 'macOS-10.13'

steps:
-   script: |
        echo installing gauge
        brew install gauge
    displayName: 'install gauge'

-   script: |
        echo starting gauge test
        gauge run specs
    displayName: 'gauge test'
Linux
trigger:
-   master

pool:
    vmImage: 'ubuntu-16.04'

steps:
-   script: |
        echo installing gauge
        sudo apt-get install -y curl zip
        curl -SsL https://downloads.gauge.org/stable | sh
    displayName: 'install gauge'

-   script: |
        echo starting gauge test
        gauge run specs
    displayName: 'gauge test'´
Windows
pool:
    vmImage: 'vs2017-win2016'

steps:
-   task: NodeTool@0
    inputs:
        versionSpec: '10.x'

-   powershell: |
        echo installing gauge
        npm install -g @getgauge/cli
    displayName: 'install gauge'

-   powershell: |
        echo starting gauge test
        gauge run specs
    displayName: 'gauge test'
- If you want to run only a subset of specs, you can use Filter specifications and scenarios by using tags.
Eg. gauge run –tags tag1 & tag2 specs in your azure-pipelines.yml.
Adding a flag -p runs them using Parallel execution.
Run against specific Using environments in a Gauge project using the –env flag
See the Manpage for list of all the flags that can be used.
Reports
Goto your pipeline and see the console output.
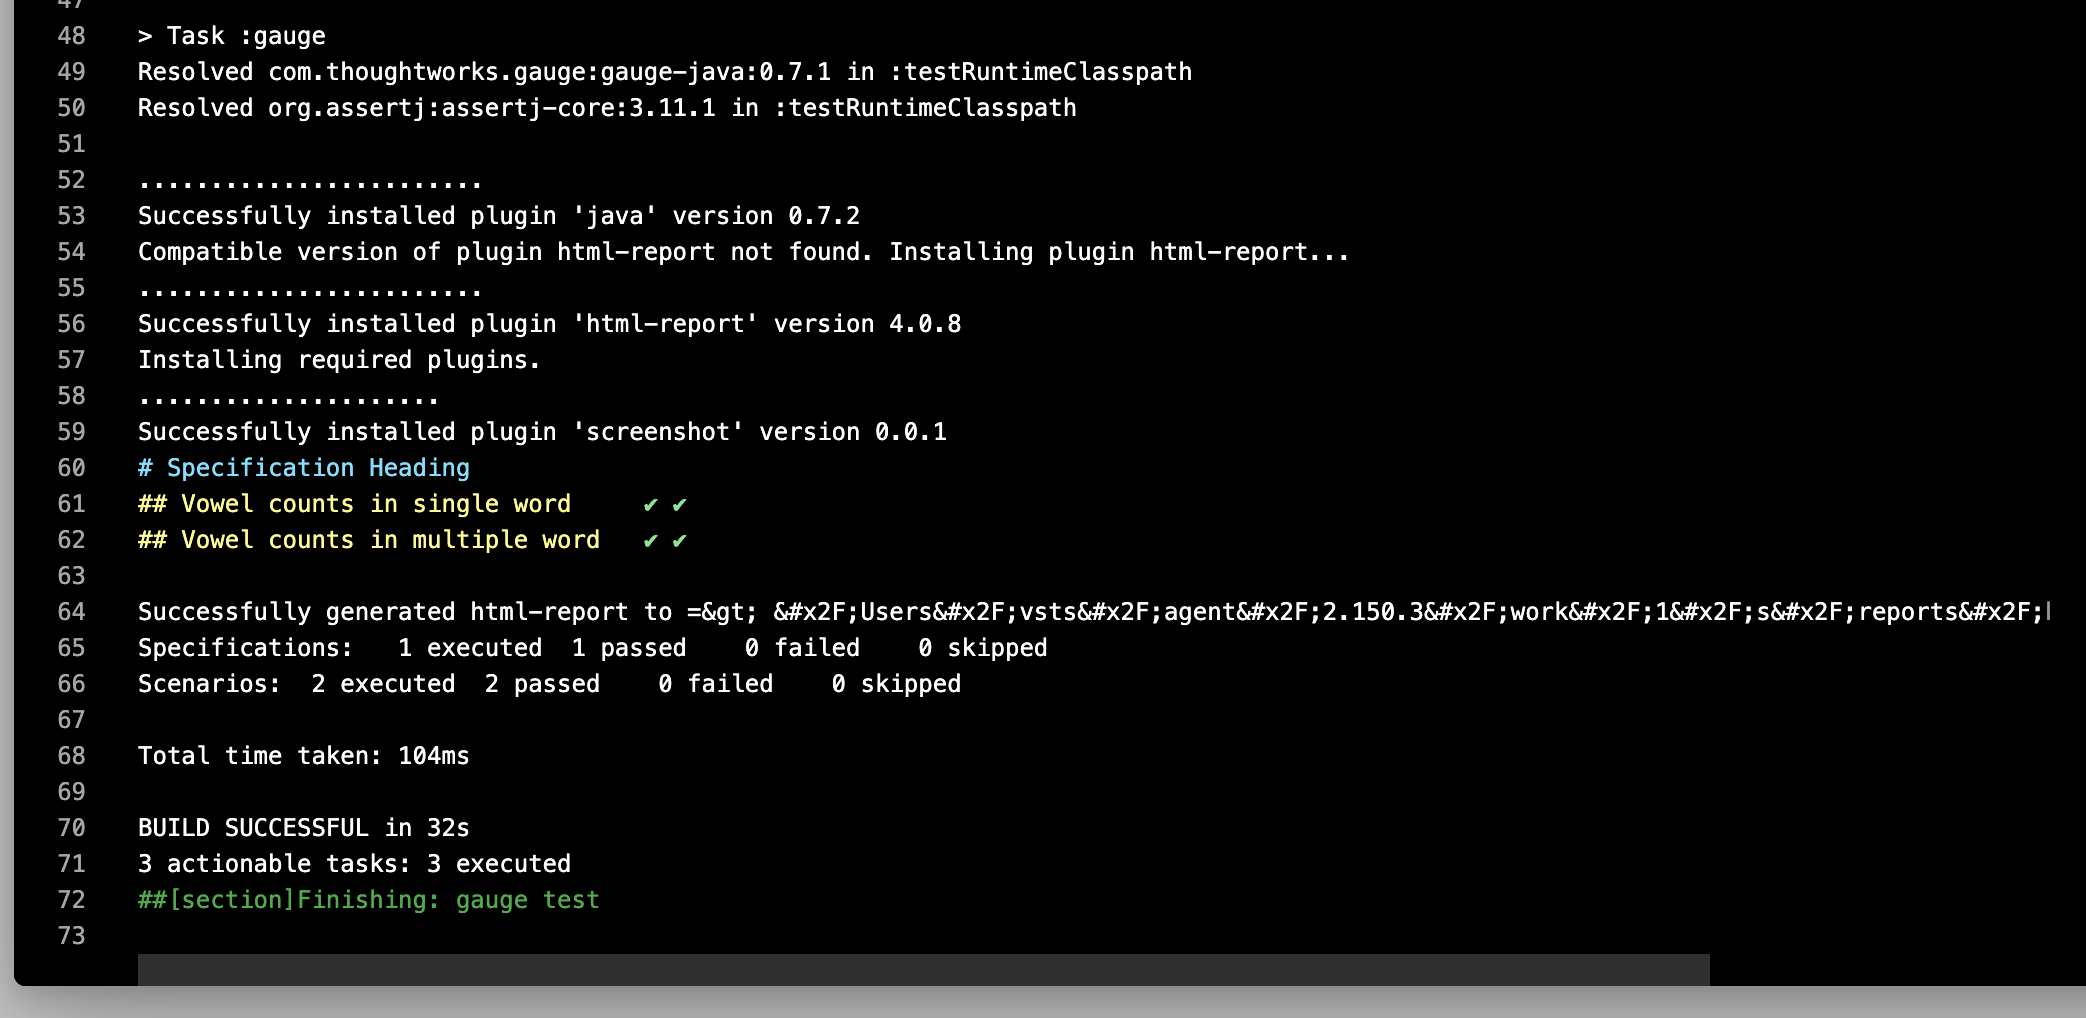
Gauge generates html-report after execution whose location can be set by environment variable gauge_reports_dir. This defaults to reports directory in the Gauge project.
You can upload Gauge execution reports to your choice of hosted web server. Read more for uploading artifacts.